Setting up your Calibur system
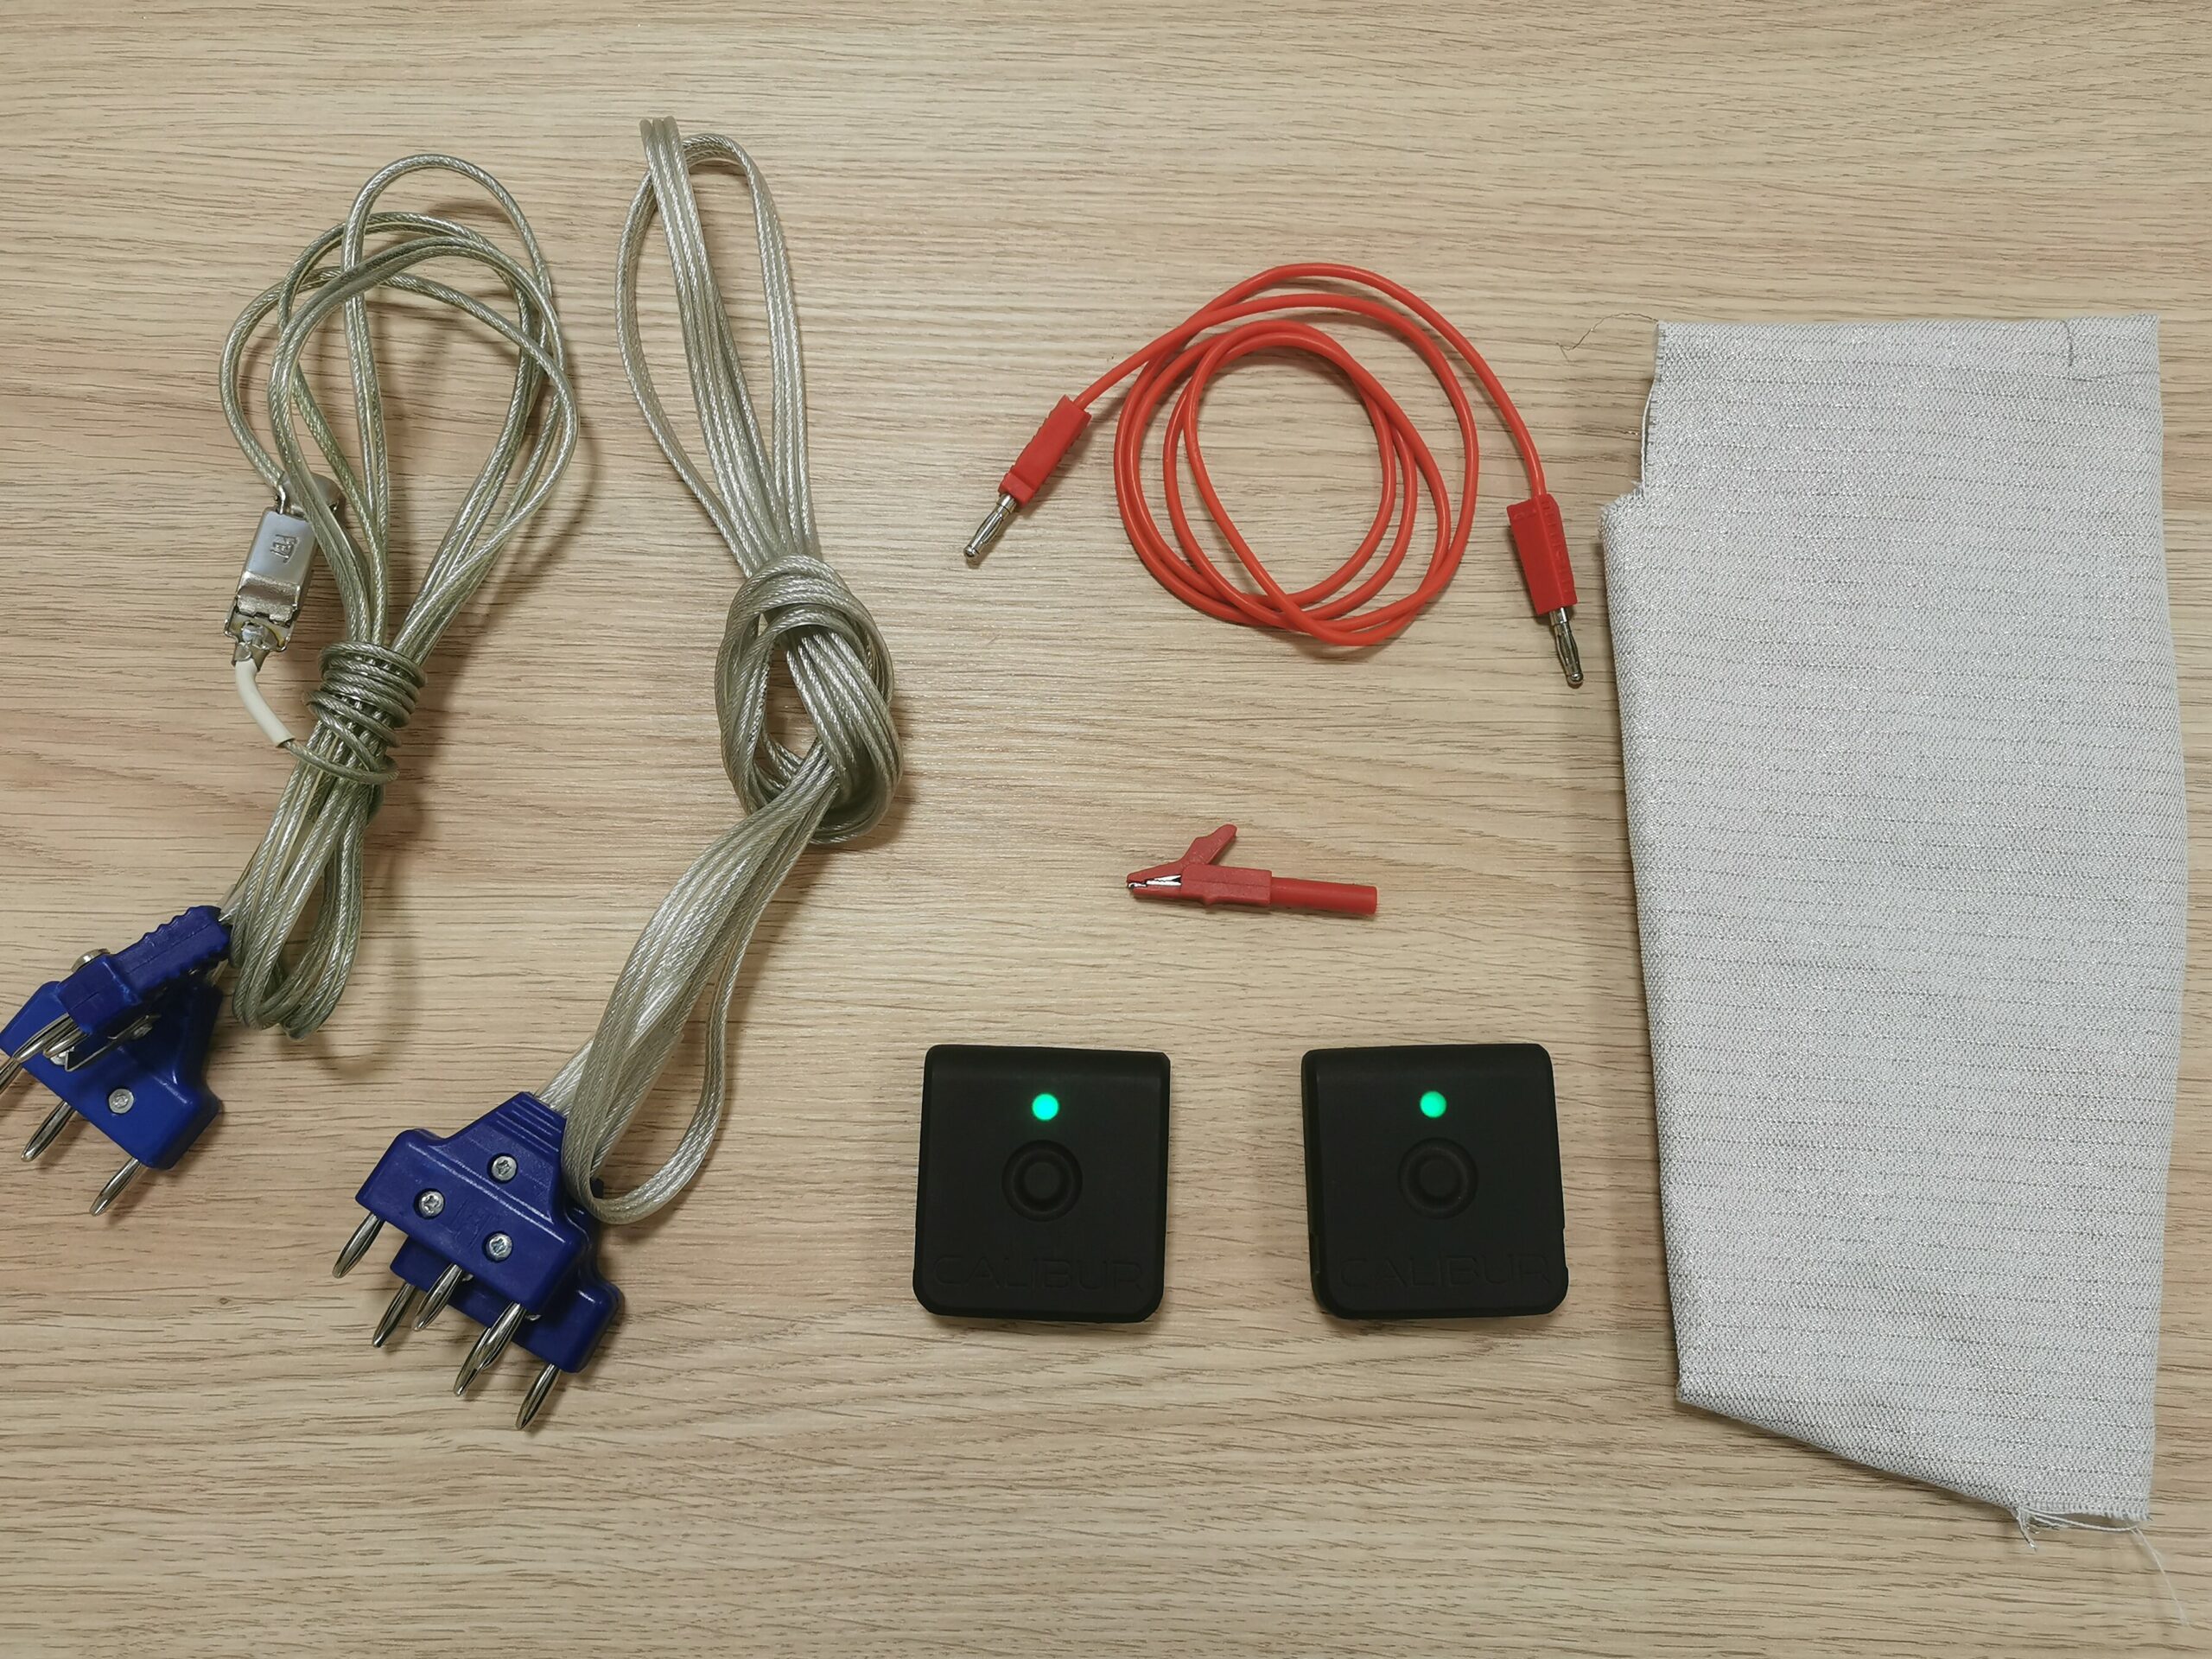
How to start fencing anywhere, anytime? Here’s your quick guide to setting up your Calibur pocket boxes!
- Open the “Calibur” app, downloaded from the application store (Google Play, App Store or Amazon Store).
- On the first occasion, grant access to the Calibur app to access required services on your phone
- After launching the app, a tutorial will lead you through the steps of connecting your pocket boxes to the mobile device. If you want to, you can disable this function later on in the settings.
- To select your discipline, push the weapon icon in the middle
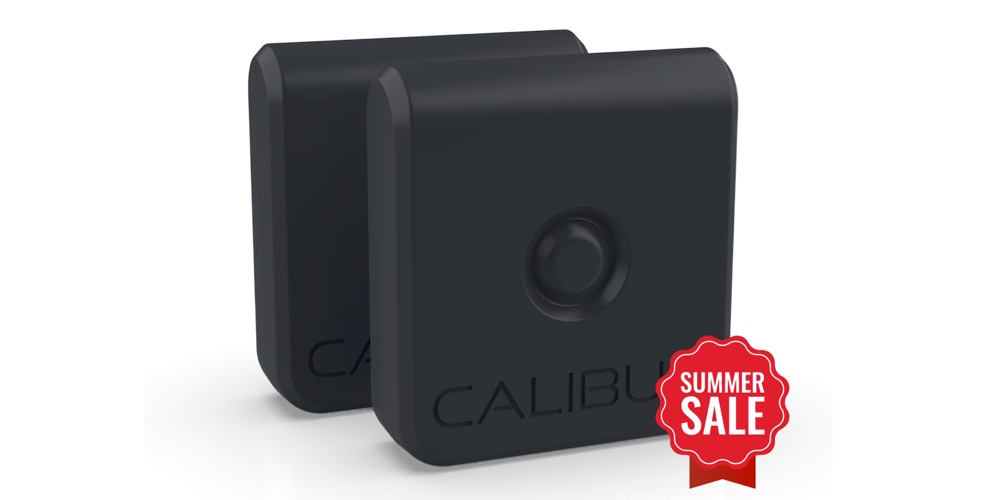
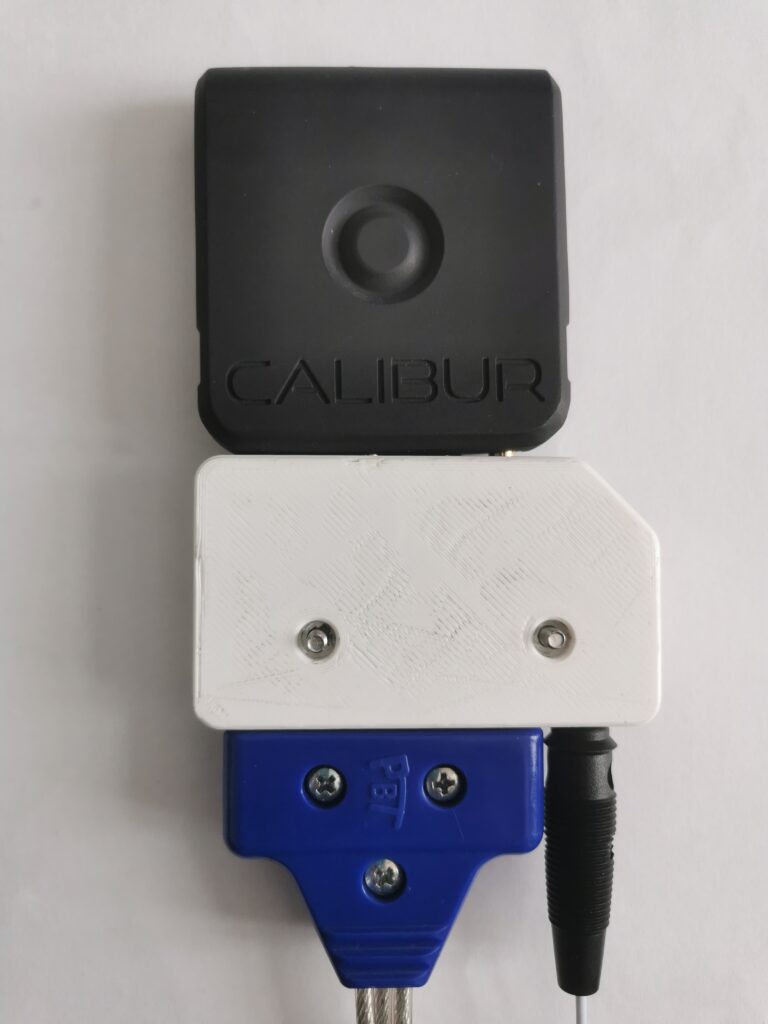
- Now, turn on your pocket box - push the button in the middle firmly. Normally a blue light above the button should indicate that it’s turned on. If you see a pulsating red light, that means your box is low on battery and needs to be charged before using it.
- Select the fencing icons on the bottom of the screen - your device will connect to the closest pocket box to the chosen side.
- After connecting both fencers successfully, try on- and off-target hits! (Always test in real, bootleg circumstances, wearing a full fencing uniform, and imitate real-life touches! Do not touch the blades with your bare hands or keep your tip pressed!)
- You can customize your scoreboard with a selection of features by pushing the middle button on the screen, between the fencing icons.
- Close every other application.
- Prêts ? Allez !
To have a more in-detail guide, take a look at our user manual, or contact our customer support at roland@caliburfencing.com.