Connect a bigger display via cable

Having a larger display for the Calibur scoreboard is possible through cables and wirelessly. Depending on what device you own, the opportunities are various. Here’s a quick summary about the possible ways to extend your scoreboard to a second screen by cables!

Connecting Apple devices

Mac

First things first, you have to identify the ports on your device. This guide can help you to do so.

  1. HDMI - if you have such a port, you'll only have to see if your desired screen has a matching input. If not, it is most likely that it has a VGA input, so what you will need to do so is an HDMI-VGA adapter.
  2. Thunderbolt 4, Thunderbolt 3, or USB-C port: Connect to HDMI with an adapter such as the Apple USB-C Digital AV Multiport Adapter.
  3. Thunderbolt 2, Thunderbolt, or Mini DisplayPort: Connect to HDMI with a Mini DisplayPort to HDMI adapter or cable such as the Lightning Digital AV Adapter or Belkin 4K Mini DisplayPort to HDMI Adapter.

iPad

  1. Thunderbolt 4, Thunderbolt 3, or USB-C port: Connect to HDMI with an adapter such as the Apple USB-C Digital AV Multiport Adapter.
  2. Thunderbolt 2, Thunderbolt: Connect to HDMI with a Mini DisplayPort to HDMI adapter or cable such as the Lightning Digital AV Adapter or Belkin 4K Mini DisplayPort to HDMI Adapter.

iPhone

  1. Thunderbolt 4, Thunderbolt 3: Connect to HDMI with an adapter such as the Apple USB-C Digital AV Multiport Adapter.
  2. Thunderbolt 2, Thunderbolt: Connect to HDMI with a Mini DisplayPort to HDMI adapter or cable such as the Lightning Digital AV Adapter or Belkin 4K Mini DisplayPort to HDMI Adapter.

Connecting Android devices

If you are using devices powered by Android, you are likely to have either a micro-USB or a USB-C type of output. It's very important to check whether your device supports MHL, which is a technology needed to connect to an external TV or monitor via HDMI.

If it does so, all you need is the correct adapter (micro-USB to HDMI, USB-C to HDMI) - after plugging them in, you should be ready to go.

USB-C to HDMI (input) adapter

Don't miss out on our summer sale

Firmware update

What is the firmware and why is it important? Here’s your quick guide to update your firmware for getting the most out of your wireless fencing experience!

The firmware is a software that runs on your Calibur pocket boxes. It is important to keep the Calibur application, as well as the firmware updated, because we are constantly working on making Calibur easier to use while adding more features and with each update, you will get more out of your device!

To have a more in-detail guide, take a look at our user manual, or contact our customer support at roland@caliburfencing.com

Don't miss out on our summer sale

Use Calibur on  PC/Mac

Until we release the designated desktop version of our system here's a quick guide on how to to run the Calibur mobile app on computers. This tutorial will guide you through on setting up the Android system and Calibur app on your computer. Don't worry if you're not tech-savvy; just follow the instructions, and you'll have the Calibur system running on your PC.

We've tested this process on various PCs with successful results, but cannot guarantee perfect operation for every computer model due to the third-party nature of Android-x86. Please check our list of tested and verified computers. 

You can download the manual in a handy PDF or follow the steps below:

Mac/OSX

Requirements:

On a MacBook:

Windows or Linux PC

On a Windows or Linux PC you can use the Android-x86 emulator to emulate a fully functional Android system.

Requirements:

Instructions:

  1. Prepare the bootable USB using the Rufus software. This will load the Android-x86 emulator, which allows Android to communicate with your PC's hardware.
    • Download the Android-x86 emulator from their website and select the .ISO file compatible with your processor type (x64 or x86). If you are not sure about the type you have check this guide.
    • Download Rufus, a software to prepare bootable USBs, from their website.
    • Use Rufus to prepare the bootable USB with the downloaded .ISO file. Follow the prompts and select the recommended options.
    • Set the following options in Rufus:
      • Device: your USB stick
      • Partition scheme: MBR
      • Target system:
        BIOS (or UEFI-CSM)
      • Volume label: any name
      • Cluster size: 8192 bytes (Default)
  2. Plug the bootable USB into your PC and set your PC to boot from this USB. This process may vary depending on your computer's make, so do a quick search for specific instructions.
  3. Set up Android by following the steps similar to setting up an Android phone or tablet.
  4. Once Android is set up, connect to WiFi and turn on Bluetooth.
  5. Open Google Play, search for Calibur, install it, and connect the pocket boxes.
  6. Be careful not to disturb the pendrive to avoid freezing Android. You're now ready to start using Calibur!

Set up Calibur

As soon as the Android system is running you can do everything you could on a tablet.

Enjoy using Calibur on your PC! 

Product evolution #2

We nicknamed the project  “wire eater”  among ourselves so I will refer to the devices asWE versions. The plan was set in motion: ship WE-1, incorporate feedback and develop WE-2 within 3 months. The goals for WE-2: make the app cross-platform (Android and iOS), get bellguard-grounding-accuracy to 90-95% on épée and deliver over 100 devices for the clubs to test. In other words a broad beta test for WE-2. We planned the testing to take place in November.

The sprint started by mid-August and the first clubs buying WE-1 planned to restart fencing in September. We agreed to deliver for the reopening. For the first few weeks development and production went simultaneously, but delivering a product for actual customers was very exciting. We finished just in time:

Some pictures from a training session @ PSE. The kids had fun, and we gathered valuable insights. Néhány kép a PSE edzéséről. A gyerekek jól érezték magukat mi pedig sűrűn jegyzeteltünk.

Posted by Calibur Fencing on Thursday, 1 October 2020

The kids intuitively started to use our products really enjoyed themselves

In the meantime we made a detailed roadmap for WE-2 with the 3 goals in mind as above. Let’s get through them one by one.

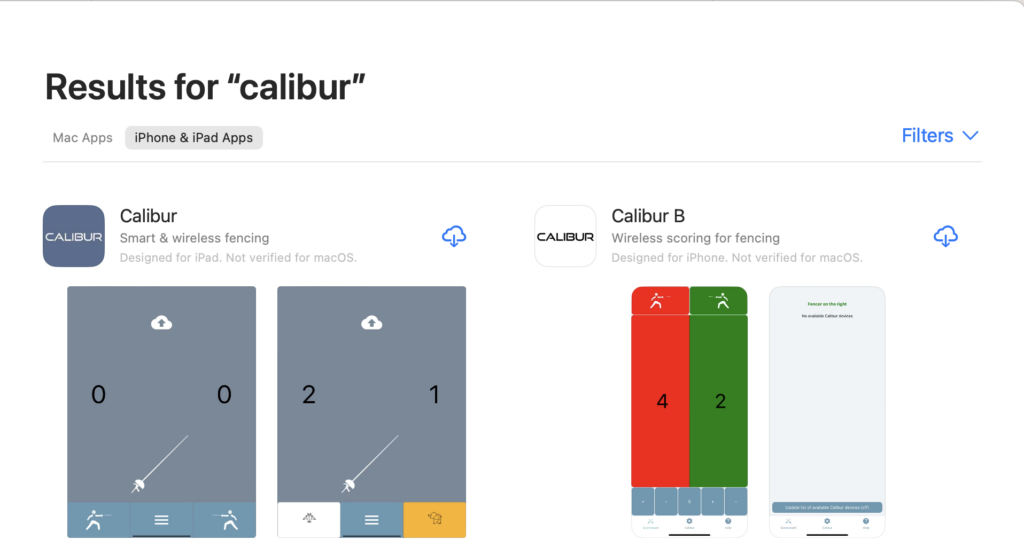
Making the app cross platform

It shouldn’t take particularly precise planning. We take what we have for Android and replicate it for iPhones, right? Well, Apple strictly controls everything and why wouldn’t that be true for wireless devices. If we want to connect something to iPhones we need to use a wireless chip approved by Apple. If you had to guess whether we used one like that or not, where would you put your money, and why on not? WE-1 only supports épée and does not have any grounding capacity, but it has a very stable and fast connection with the phones. That part was fine tuned already. Changing the chip means to throw all that away, and restart.

Getting accuracy over 95%

Bellguard grounding should work 9+ times out of 10 in test environment. Our model is based on that a larger data pool is needed to operate. How would we get that? Obviously it’s not an option to gather that at the clubs every time we change something. So a lot of nights went like this:

999 green bottles on the wall, if one green bottle should accidentally fall, 998 green bottles on the wall…

Both of the goals turned out to be an uphill battle especially in the given timeframe. All the new wireless chips turned out to be either too slow or dropped connection too easily with the phones. Every time we tested out something in the lab and took it to a real training session it completely failed. Special thanks to OSC and their fencers for letting us do our it-worked-yesterday-I-swear show twice a week. The connection drop proved to be a very stubborn issue, basically disrupting every other test we tried to run.

[supsystic-gallery id=6]

OSC helped a lot, sharing their space to test

Producing 100 pieces

We were approaching the end of October. The clubs who signed up for testing were all set, waiting for their devices, we just finished the new enclosure design and for the 1st time the application was approved on both platforms. 

[supsystic-gallery id=8]

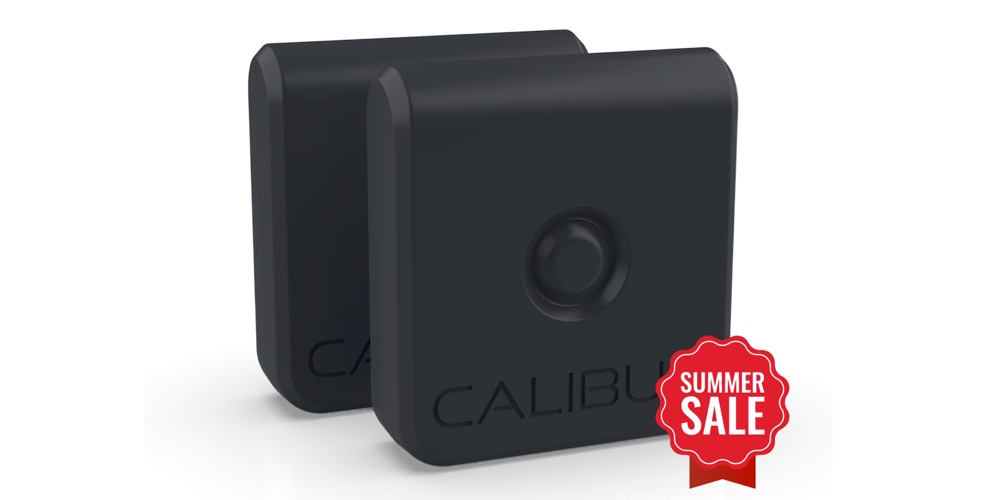
It's much more convenient to connect the yellow penguin than a QR code

But the connection issues still stayed with us. We had only a week left to finish and we put our bets on a last resort solution in changing the antenna design. We urgently needed a plan B and getting the devices out of the pockets made the connection slightly better.

[supsystic-gallery id=7]

Desperate times call desperate measures

I shouldn’t get into details about the things we tried on the last weekend in a rush to find a way to attach them to the body. The new antenna design, though far from perfect proved to be above the threshold and we decided to give it a go. 

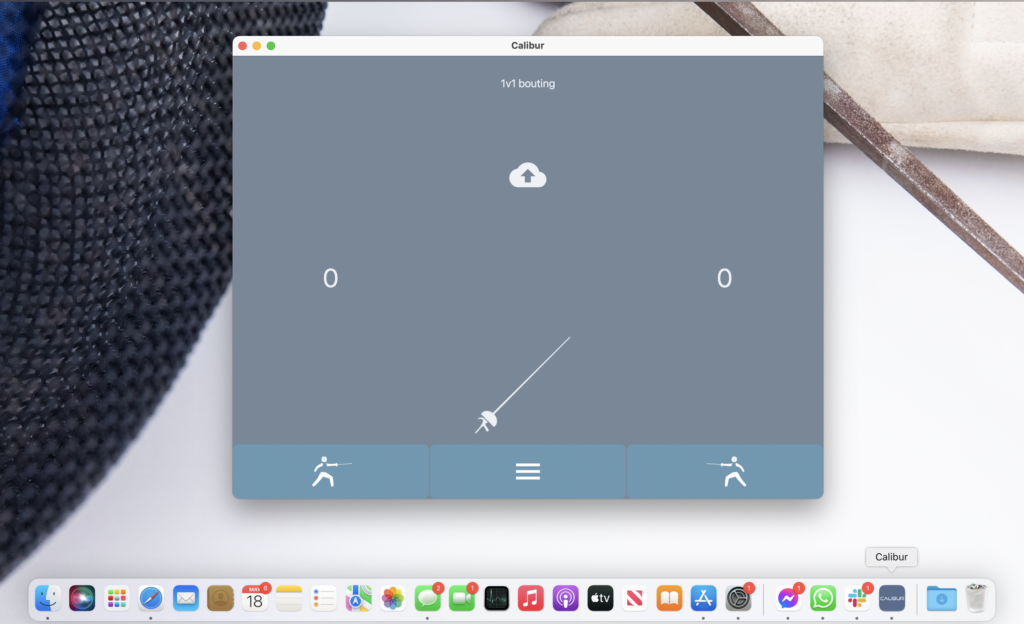
We’ve made everything ready and after an intensely laborious week with 3 hours of sleep on average we tested, packed and labelled all the packages ready for shipping. And the épée beta started.

Final touches before sending out beta test packages. (Nov.11.) Utolsó simítások mielőtt kiküldtük a beta teszt csomagokat.

Posted by Calibur Fencing on Sunday, 22 November 2020

Product evolution #1

As I mentioned, I think it’s worth getting a brief look back on the evolution how we got to where we are today. Picking up the story from where we left off: Our team had just formed.  More or less with the skillset diverse enough to build a hardware we had a lot of questions. What should we focus on? What are the milestones to set? Who are the customers?

Startup competition

We decided that we should enter a startup competition and present the concept to a jury. It would provide 2 things for the project: Firstly, it’s an external commitment that forces us to build and deliver something in time. Secondly, there will be some guiding feedback. So we did exactly that, we built “something”.

[supsystic-gallery id=1]

Meet the “thing”, our very first prototype. Banana for scale

I shouldn’t get into nuances, like the main board being cardboard or the fine crafted details of the blue duct tape keeping the whole thing together. However it did prove a few things. It was able to send a signal to a phone whenever the tip was pushed. In other words: we’ve built a scoring machine on very basic terms. And it was enough to push us to the second round of the competition. More importantly, what we’ve learnt from this experience is that you’ll always have additional features or fixes you want to finish before you “launch”, but actually putting something out there is really what starts momentum.

Second round

So preparing for the second round we needed to “commercialize” the thing. Shrinking it in size to fit in a box and basically to be usable for some sort of fencing. We’ve actually designed 2 models for this round. The better one was much smaller, had a rechargeable battery and had far better chips on it however it was so unstable we used the more basic but stable one. (Note that by stable I mean we needed to connect a headset to the phone because the device randomly scored sometimes. So the plan was to disconnect the headset while presenting, pray that it wouldn’t make any sound randomly, then reconnect the headset when we were done. Please don’t tell the jury).

[supsystic-gallery id=2]

Somewhere in the distance an industrial designer starts to cry

Our chances were weaker than the quick binder on the money clip holding the box together, but it worked! Or at least did not fail during the presentation. The performance earned us third place in the competition which gave us a great push. More importantly we had something that we could start to test on actual fencers.

Real life testing

So the next months were spent on incremental improvements, shrinking the size, going to fencing clubs and collecting feedback. 

[supsystic-gallery id=3]

We visited 2 clubs a week, sometimes even more. Fortunately everyone was very welcoming and the general feedback was very enthusiastic. We got proof that the old way of scoring was really the pain that we understood it to be. Our two main goals were set:to shrink it to the size of 2 matchboxes, and to lay the ground for data gathering. We started to test basic AI models on the data.  We went through a handful of iterations not very different from each other.

[supsystic-gallery id=4]

I'm glad we left the small coffin design on the left

Even though the app was only for Android it only worked for épée and no grounding feature was available, we had our first customer. A small club next to Budapest decided to order 10 pieces. Sadly we didn’t have too much time to celebrate as it coincided with the worldwide spread of Covid-19. With the clubs closed and most of the indoor activities restricted we didn’t see any other option but to suspend developments. 

Covid's effect

Few months went by, the restrictions eased and the world started to adapt to the new reality. We started to get more and more messages that wireless sets could be really helpful in order to maintain health standards. So we decided it was time to get back on the project. 

First we put together a comprehensive plan. In 3 months we want to achieve 3 key goals: make the app available on Android and iOS, get bellguard grounding over 95% accuracy on épée, produce and send over 100 pieces of it to clubs. We will cover that in the next post.

0
    0
    Your Cart
    Your cart is emptyReturn to Shop